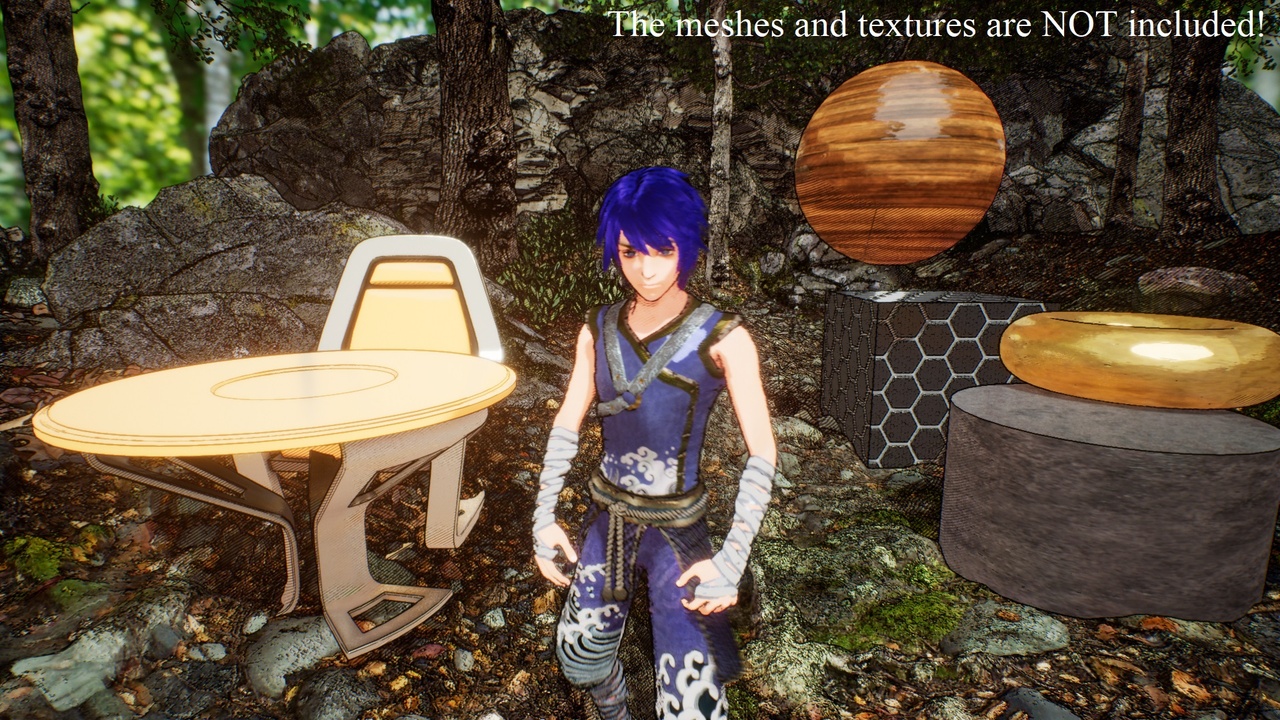
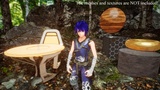
Descripción
The cel shading used is a layered model: two layers for basic color and one layer for highlight, which is commonly used in anime. The light-shade boundaries can be specified by the custom threshold. The global brightness and shade falloff can be specified accordingly.
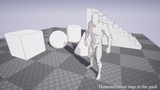
The outline drawing covers the features of silhouettes, creases, and boundaries. In the legacy version 1, the three types of outlines are separately extracted. In version 2, creases and general silhouettes are covered by one extraction method; silhouettes with suggestive contour is an extension which is suitable for characters.
Procedural and texture hatching are also supported. The hatching density, direction, threshold, and pattern can be specified.
Generally, it can be compatible with common shading materials used in the photo-realistic rendering, that is, no specific texture or extra material is necessary. The style rendering can be switched by the custom stencil values of the target meshes.
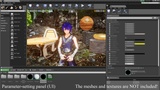
Brief tutorial:
1. Project settings -> Engine -> Rendering -> Postprocessing -> Custom depth-stencil pass, choose Enabled with Stencil.
2. Add mesh objects and set light sources.
3. Add a post process volume, then Rendering features -> Post Process Material -> Array + -> Asset Reference, drag the material/instance into the blank.
4. For each mesh object, set the custom stencil value, default value 7 ( = 1 + 2 + 4) for enabling all basic effects. For a character, setting 15 for enabling all effects.
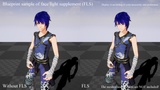
5. Face light supplement: just drag the BP_FaceLight into the scene, and specify the default skeletal mesh variable to the target character.
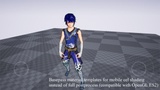
6. For auto global light intensity estimation, please refer to the sample BP_Light_Intensity_Estimation.