


Opis
Please read the description carefully before purchasing this project.
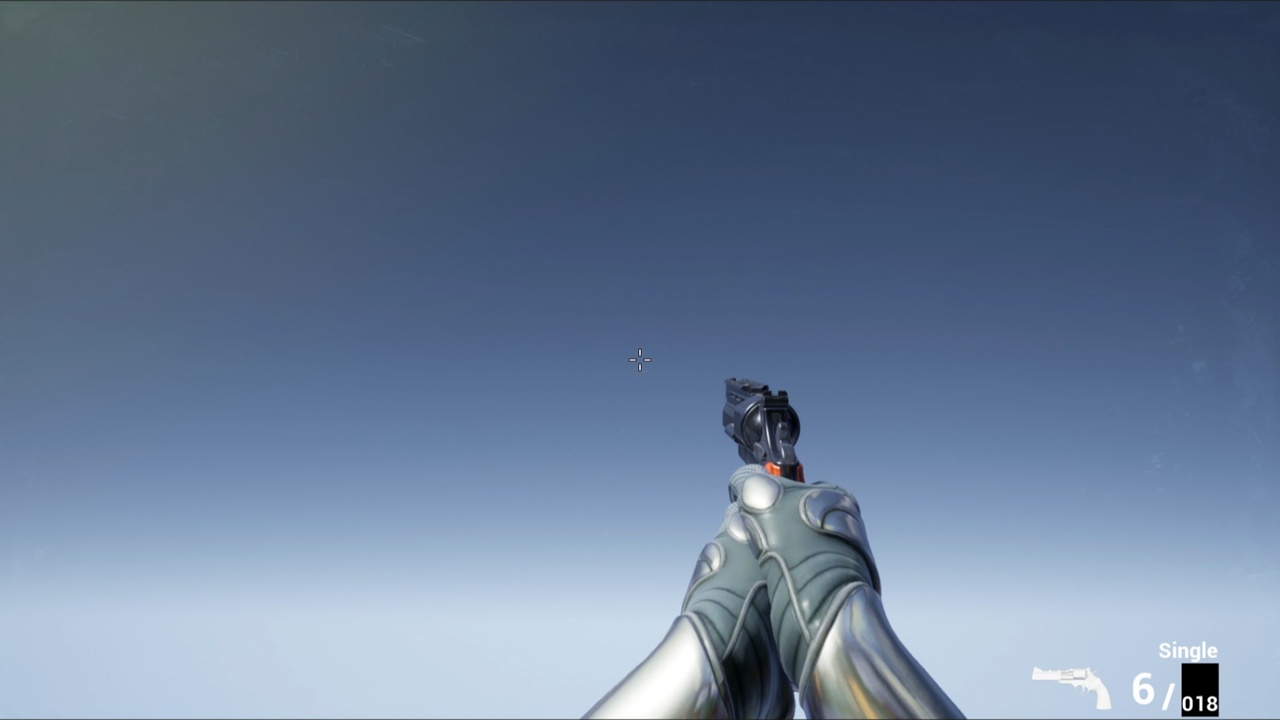
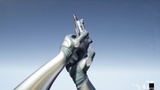
This is not just a weapon model; the project contains all the necessary animations and logic to create your game.
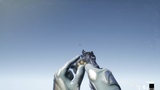
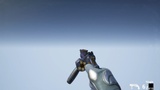
One customizable revolver, multiple holo sights, laser/flashlight, compensator, suppressor.
Due to customization, you can get different views of weapons.
You can also customize the accuracy of the weapon.
This project uses a material layering system so that you can give your weapon a different look with different patterns. You can also change only a tint.
The material is configured to make raindrops appear on weapons by changing the alpha value.
Raindrops appearing on weapons, procedural walking, character crouching, sliding, weapon deflection when the character approaches an object,
grenades: fragmentation, flashbang, and smoke, explosions, blinding, and concussion effects. Bullet projectiles are subject to gravity and do not fly off into infinity.
The enemy damage system depends on the hit to the body parts. For example, a hit to the head leads to the death of the enemy with fewer hits than to the arm or leg.
PREVIEW (UE5)
PRESENTATION (UE5)
Introduction to the CGr UE5 update project
How to combine CGr projects. The video was recorded for an old version and has several differences. For example, in all animation blueprints (except FaLMG), "cast to" is replaced with interfaces.
In versions UE5.5 and possibly higher, there will probably be freezes and disappearances of the material.
The solution is simple (watch this video): You need to reduce the resolution of all textures (for example, from 4096x4096 to 2048x2048, and some 2048x2048 to 1024x1024).
P.S. Projects updated, lower resolution textures uploaded. High-resolution textures are placed in the appropriate folder.
If your image has shifted to the right (watch this video)
If Ragdoll is sliding on the floor (watch this video)
This project uses procedural aiming.
This project uses procedural recoil.
Project "CG" stands for Customizable Guns. "r" is a remaster.
The project allows you to make your weapon different in appearance by changing the length of the barrel.
You have the main body of the weapon, which is represented by the skeletal mesh, and three barrels that can completely change the look of the weapon.
Variability allows you to make weapons short, mid, or long. Thus, you get a kind of constructor from which you can assemble different variants of the same type of weapon.
The project's skeletal mesh is available in three versions: combined with ammo, combined with ammo and a speedloader, and separated from both.
This is designed to meet the varying needs of customers. Choose the one that suits you best. Weapon blueprints are also compiled for combined and separated mesh options.
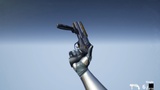
In addition to the variability of the weapon's appearance, you have four types of weapon holding: normal, with the left hand gripped by the front vertical grip, with the left hand gripped by the front angled grip, and holding the gun with one right hand.
The project was developed using the Unreal Engine 5 (UE5) engine. All animations are based on the UE5 mannequin. The project no longer supports Unreal Engine 4 (UE4). The project no longer contains animations for the UE4 mannequin.
The project is True FPS, meaning the character's Blueprint includes the entire mannequin, not just its arms.
Because Manny's animblueprint is split into upper and lower body parts, the "ik_hand_gun" bone is no longer used in animations; however, it is still required for procedural aiming.
In this regard, the animations used, "GunMainBoneMove", where the "Main" bone of the weapon is animated, and the weapon itself remains attached to the socket of the right hand. But in some projects, such as "SAShotgun" and "BASnpR", during the playback of some animations, the weapon is dynamically attached to the socket on the left hand (the socket for the left hand is necessary in these projects!).
In connection with the innovations, the Data Table was changed.
The project does not contain SAShotgun and PAShotgun's reloading logic. If you want to combine this project with those shotguns, I have created shotgun components (watch this video).
All you need to do is import the "SAShotgunReloadComponent" and "PAShotgunReloadComponent" and connect the functions from them.
The components contain all the necessary logic for reloading these shotguns.
The project was conceived not as a complete one, but as an asset pack. So that developers can use animation and weapon models, and maybe some logic in a more advanced project.
The blueprints for this project are configured for presentation only. But advanced developers can improve it. For beginners, this project may seem complicated.
For those who decide to understand this project, you need to pay attention to custom collision presets in the project settings and notifications in animation montages.
All changes for different types of weapons must be made in the "DT_Weapon_DataTable". For your convenience, I have moved some variables from the Data Table to the weapon blueprints.
This way, you can change the variables and see the changes in real time. You can find them in the weapon blueprint in the construction script.
As a bonus, the project has an animation of a frag grenade throw and an animation of a stun grenade throw.
As well as animation of weapon jamming.
In the directory "BONUS", there are animations not implemented in the project, such as "Weapon Block Idle Animations" and "Movements".
Important Note: The weapon in my project is located on the X-axis.
If you want the Y-axis, this is solved very simply - you just export the weapon model, then import it back, but with a rotation of 90 degrees on the Z-axis.
You will have to do the same with the weapon animation, or manually rotate the weapon by 90 degrees in each animation, and set the key.