Beschreibung
youtube: https://www.youtube.com/watch?v=KHttg-DCzNg
Demo Content Notice
The demo project, characters, environments, animations, weapons, UI, and other assets shown in the screenshots and video are for demonstration purposes only and are not included with this product.
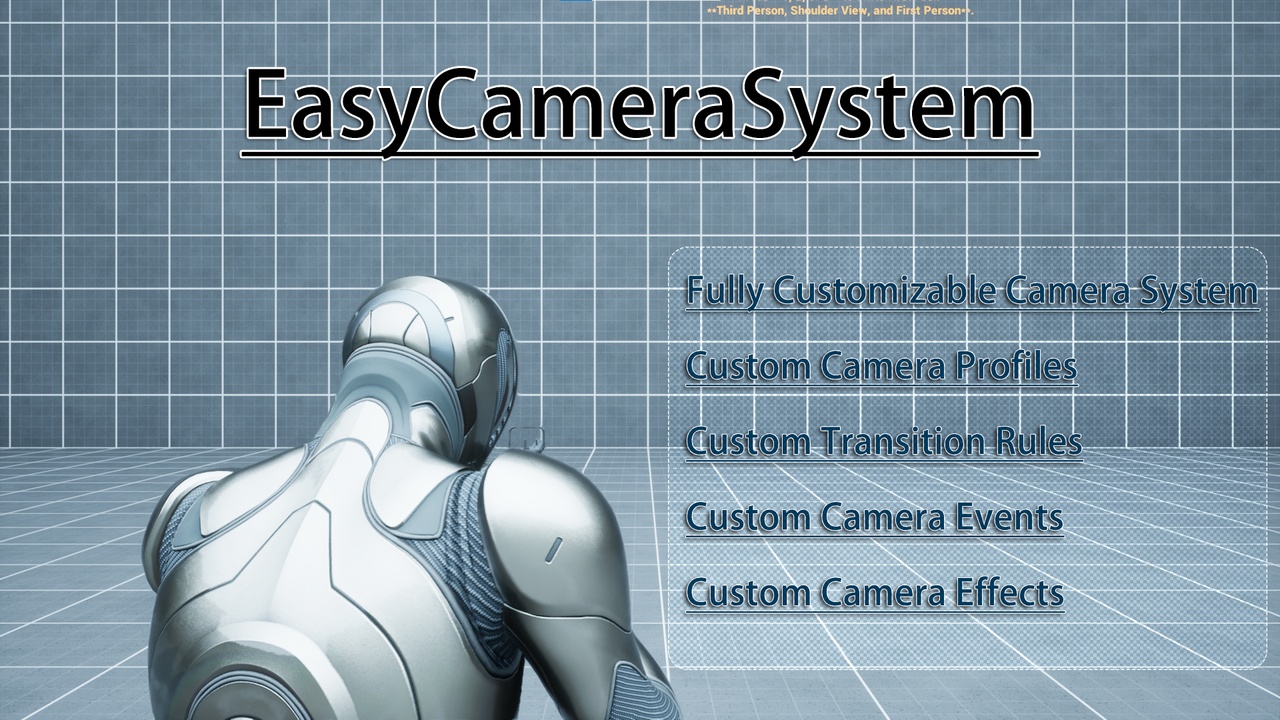
# EasyCameraSystem
Compatibility Note: The source code version of this plugin is theoretically compatible with Unreal Engine 5.0 and above, as it only relies on standard Curves, Vector Curves, and Data Assets.
## English
EasyCameraSystem is a beginner-friendly, data-driven Unreal Engine camera plugin designed to help developers build multi-view camera systems quickly and flexibly.
It focuses on making camera setup simple for newcomers while still providing enough freedom for advanced projects. With EasyCameraSystem, you can switch between multiple camera views, configure custom camera effects, define reusable transition rules, and trigger camera events without needing to study a complex camera framework first.
### Key Features
- Fast multi-view camera switching
- Highly customizable camera profiles
- Custom camera effects
- Custom transition rules
- Custom camera events
- Built-in first-person, third-person, and shoulder views
- Built-in lock-on and target-framing style views
- More than ten built-in camera effects
- Multiple transition rules for different camera behaviors
- Data-driven workflow for designers, artists, and programmers
- Easy to integrate as a plug-and-play plugin
### Core Functions
- `ActivateProfile`
- `ResetToDefaultProfile`
- `GetActiveProfileTag`
- `PlayCameraEvent`
- `StopCameraEvent`
- `PlayCameraEffect`
- `StopCameraEffect`
EasyCameraSystem is built to make camera creation faster, cleaner, and easier to extend across different projects.
## Quick Start
1. Add the EasyCameraComponent to any character after enabling the plugin.
2. In the component's Details panel, assign a ProfileLibrary Data Asset. This asset defines the available camera profiles and camera positions. You can use the built-in library, extend it with your own profiles, or create a custom library from scratch.
3. Assign a TransitionLibrary Data Asset. This asset defines the available camera transition rules. Built-in transition rules are provided, and you can also extend or completely customize them.
4. Set DefaultProfileTag to define the default camera profile.
5. Set DefaultTransitionTag to define the default transition rule.
Once configured, the camera system is ready to use. You can further customize camera profiles, transition rules, effects, and events to fit your project.