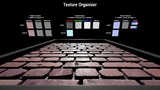
Opis
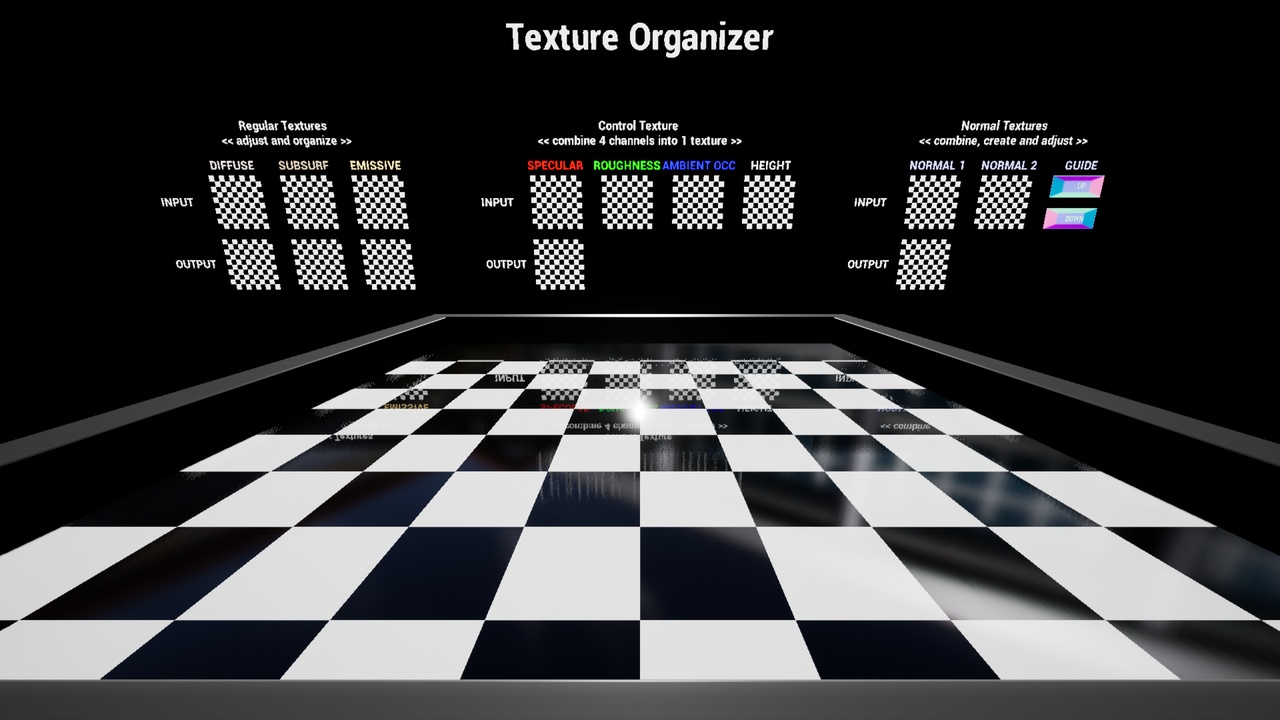
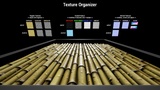
Pack / Scale / Rename Textures, create & combine Normals. TextureOrganizer makes the tedious manual steps when importing textures completely automatic. It creates standardized output, ready for use in your master material.
True "one-drag, one-click" workflow:
1. Drag a texture into a texture slot of the Blueprint Details panel
2. The tool automatically:
a. searches and assigns matching texture files (diffuse, roughness, metalness, etc)
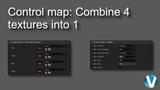
b. proposes a 3/4 channel RGB(A) control texture
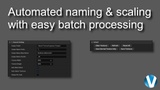
c. proposes closest power-of-2 re-sizing if needed
d. proposes standardized output naming (for example "T_MyMaterialName001_D_4K")
3. Click "Save Textures" and a set of packed, renamed & scaled textures is saved in the output folder
But also:
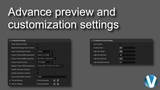
Preview the result in a "WYSIWYG" demo material box
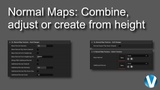
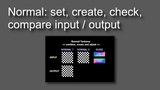
Create Normal maps directly from Height maps
Combine Normal maps (adding scratches to a surface, for example)
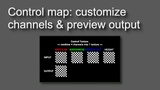
Adjust control textures (invert, contrast, min/max) to fine-tune your material
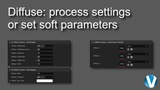
Fine-tune maps with soft (non-destructive) changes
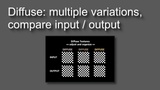
Create material variations by adding blur, contrast & colour
Why pack my textures?:
a. Every texture on every material causes a draw call. This can really add up and have a negative impact on performance. In addition, 1 packed texture is usually smaller than 4 separate ones, saving on file sizes.
b. When combining normal maps you save quite a few instructions (compared to combining them in-material), on top of the benefits already mentioned.
c. When importing colour textures, by default it's read as sRGB curve. This leads to inaccurate results for control textures and needs to be set manually for every texture (unless you use the TextureOrganizer)
Typical Output Examples:
T_BrickTiles02_D_4K (sRGB curve, BC1 compression)
T_BrickTiles02_N_4K (Green Channel Flipped when needed)
T_BrickTiles02_SRAH_4K (Linear Curve, BC7 compression, Roughness in Green Channel for best results)
(these are just examples. No textures are provided with the TextureOrganizer)