
Opis
Grid Placement System
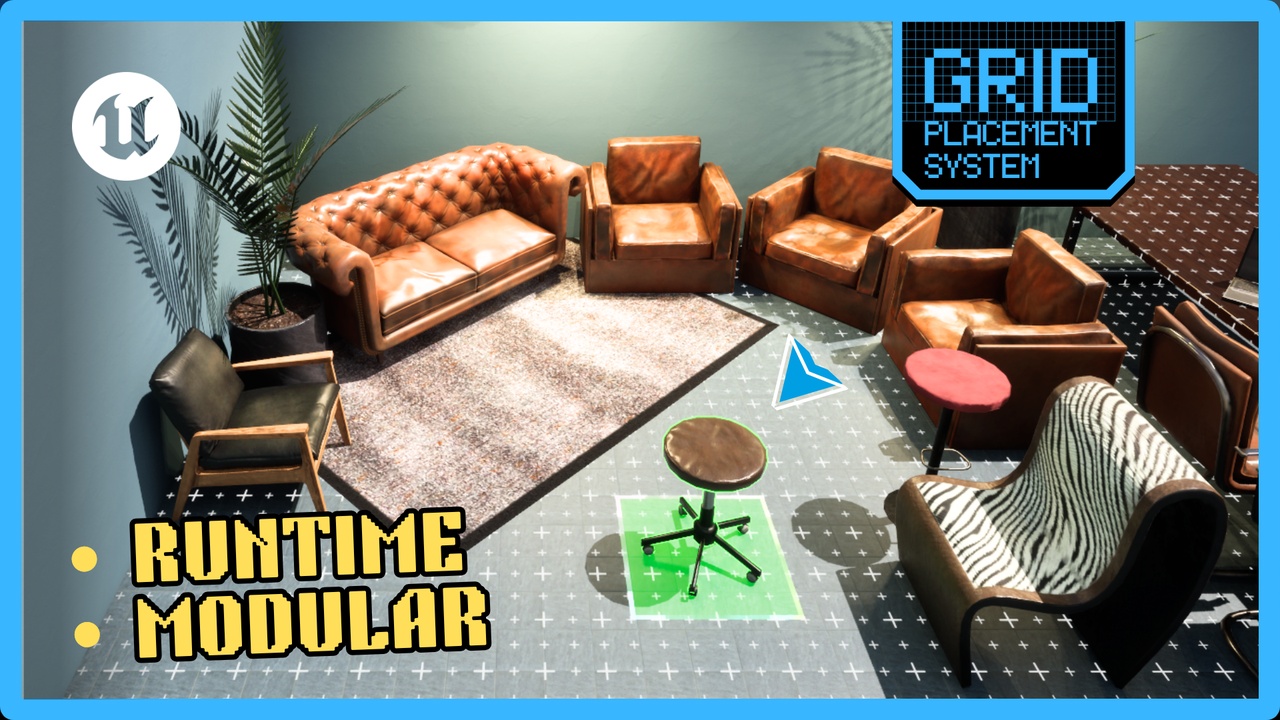
A powerful and flexible grid-based object placement framework for Unreal Engine 5.
It features precision controls, multi-surface support, and intuitive UI components - making it perfect for any builder games.
Playable Demo : HERE
Preview Video : HERE
Documentation : HERE
Public Discord : HERE
Plug-and-play into any project
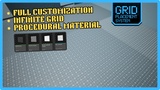
Procedural infinite grid material
Snap-to-grid placement with fully configurable sizes
Multi-surface support (floors, walls, roofs)
Precision (free-form) mode for detailed adjustments
Real-time placement validation with clear error feedback
🎮 Input & Camera IntegrationBuilt on the Enhanced Input System
Customizable Input Mapping Contexts
Works seamlessly in both FPP and TPP
Runtime camera optimized for placement mode
Full keyboard and mouse support out of the box
🎨 Visual Feedback
Grid per surface
Color-coded indicators (Green = valid, Red = invalid)
Preview meshes with outline materials
Directional arrows for easy orientation
🖼️ UI Components
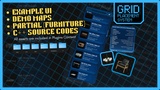
Ready-to-use widgets for object selection
Category-based filtering and search support
Customizable item widgets
Simple integration with your existing UI
⚙️ Developer Friendly
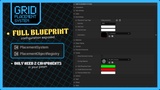
Full Blueprint and C++ support
Modular, component-based architecture
Exposed settings for quick iteration
Easily extensible for custom workflows
🚀 Quick Setup
Only needs 2 Components
Add these to your Player Pawn Blueprint:class UPlacementSystemComponent* PlacementSystem;
class UPlacementObjectRegistry* ObjectRegistry;Initialize the System
Call: InitializePlacementSystem(); via PlacementHelper in Blueprint.Register Placeable Objects
Use: RegisterObject(); via PlacementHelper // For individual placeable objector define them in FPlaceableObjectDataTable.
Both methods work seamlessly.Create UI
Use the built-in default UI, or seamlessly integrate with your own custom UI.Start Placement
Begin placing objects with:StartPlacing(AMyChair::StaticClass());